The GlyGen Data Upload Interface
This is a tutorial on how to upload using The GlyGen Data Upload Interface
Overview
Upload CSV or TSV data files to GlyGen
- Use automated QC checks to ensure data integrity
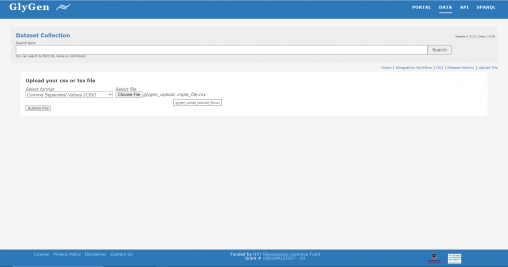
Upload a Data File
- Choose the file format and select the file to upload
For this example we are uploading a CSV file: glygen_upload_example_file.csv
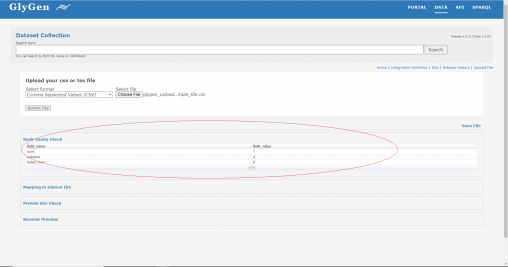
Review the Basic Sanity Check
The First QC step is called the Basic Sanity Check
The report will list the number of rows, columns, and any failed rows that need review.
In this example, we have no failed rows that need review, so can proceed to the next step.
Mapping to GlyGen IDs
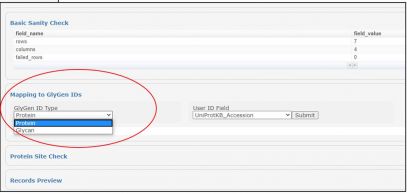
For Mapping to GlyGen IDs, a field in the upload file can be mapped to IDs already present in GlyGen
- Select the GlyGen ID Type and User ID Field from the drop-down menus, then click Submit
For this example we have chosen:
GlyGen ID Type: Protein
User ID Field: UniProtKB_Accession
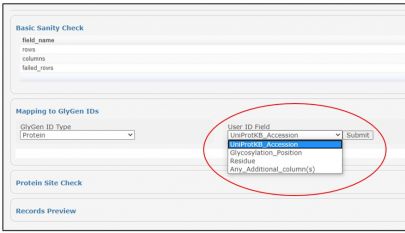
Protein Site Check
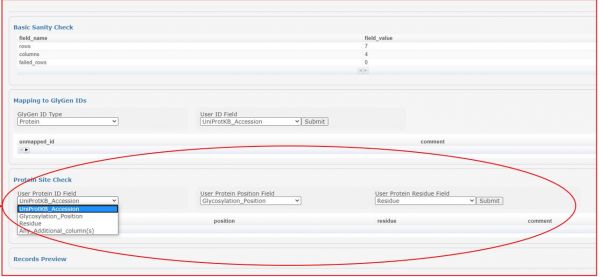
For Protein Site Check, evaluate the uploaded residue information for specific positions in the protein.
- For the Protein Site Check, select from the drop-down menus:
User Protein ID Field
User Protein Position Field
User Protein Residue Field
then click Submit
For this example we have chosen:
User Protein ID Field: UniProtKB_Accession
User Protein Position Field: Glycosylation_Position
User Protein Residue Field: Residue
Records Preview
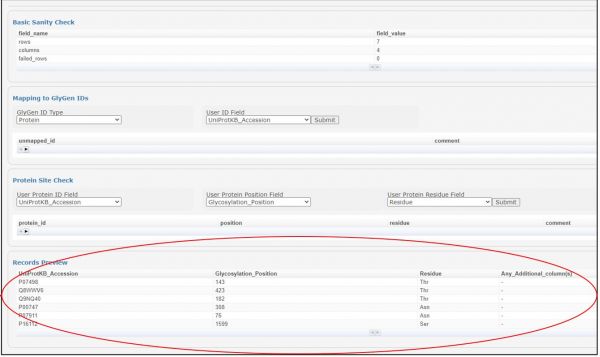
With Records Preview, check that the uploaded data is previewed correctly. The report will list all the fields and data from the uploaded file
The Records Preview report is displayed in the final section
Save File
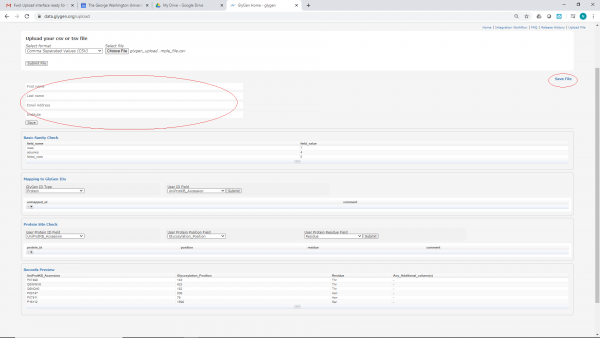
When the file has been uploaded and passed all QC checks, the uploaded file can be saved to GlyGen
- Click Save File
Then fill out the information fields:
First Name
Last Name
Email Address
Institution
and click Save